First introduced in Lightroom CC 2015, the Dehaze tool is located in the Develop module’s Effects panel. Though I discovered it almost by accident, it has quickly become one of my favorite tools in Lightroom.
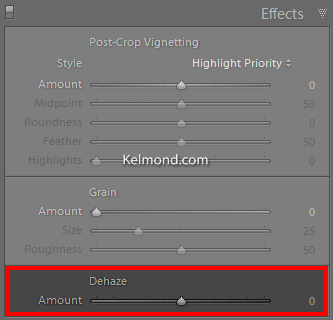
UPDATE: In the Lightroom Classic CC 7.3 release (April 2018), the Dehaze slider has been moved from the Effects panel to the Basic panel!
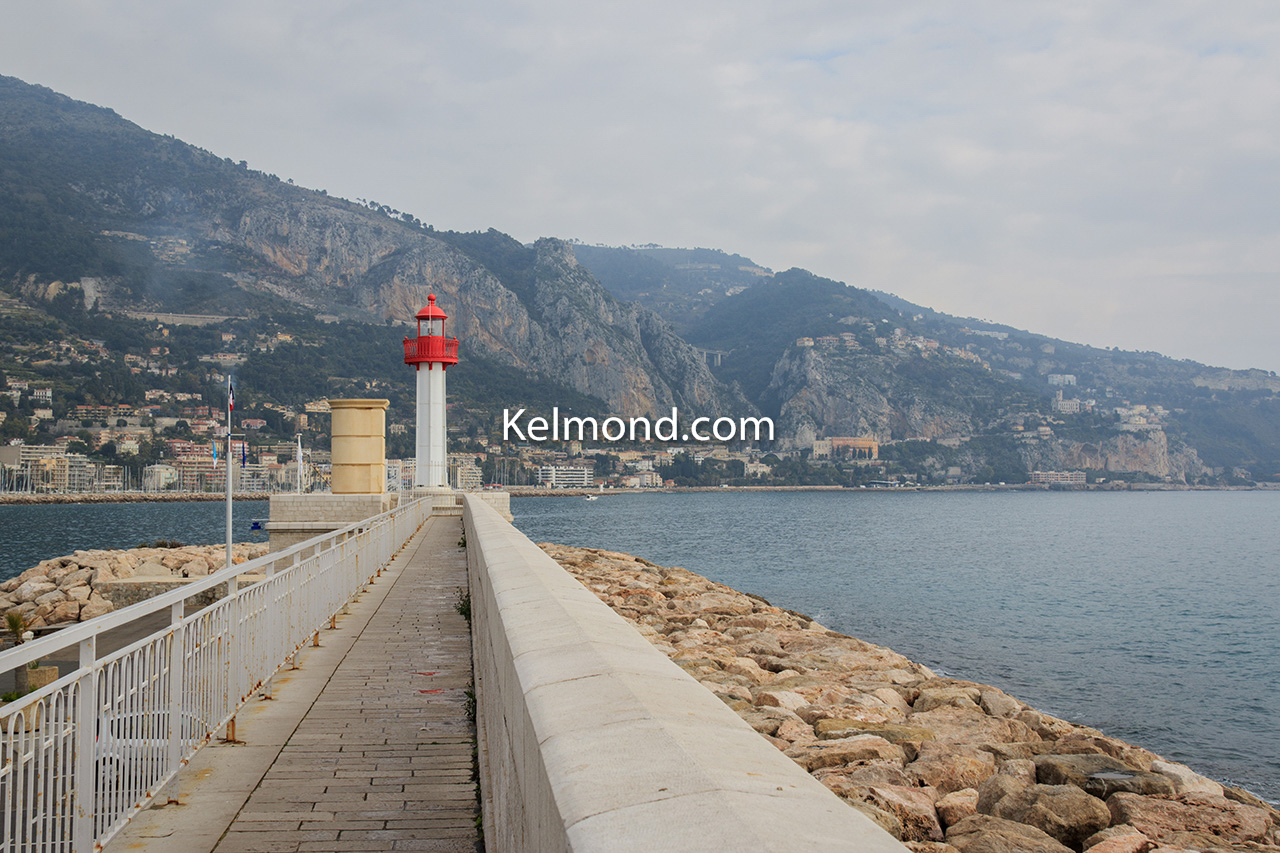
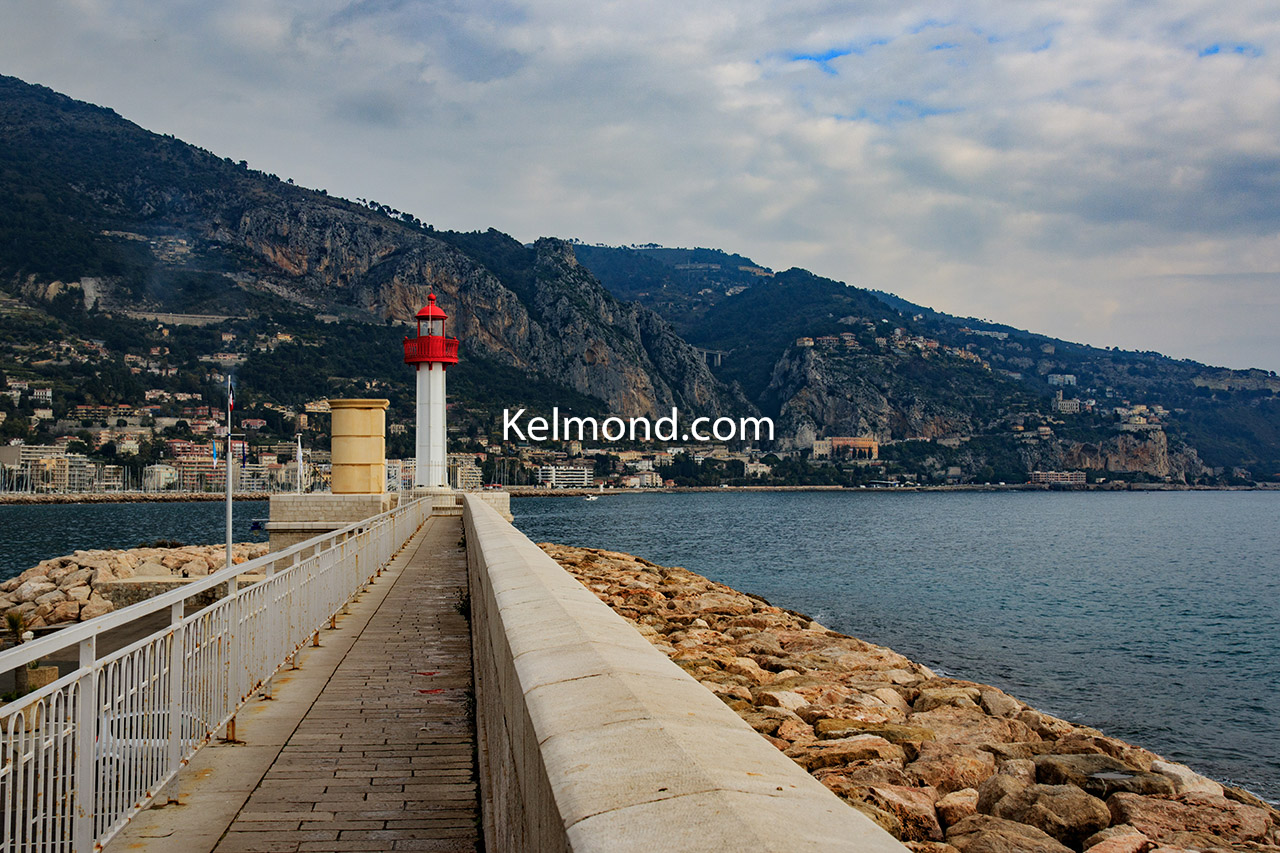
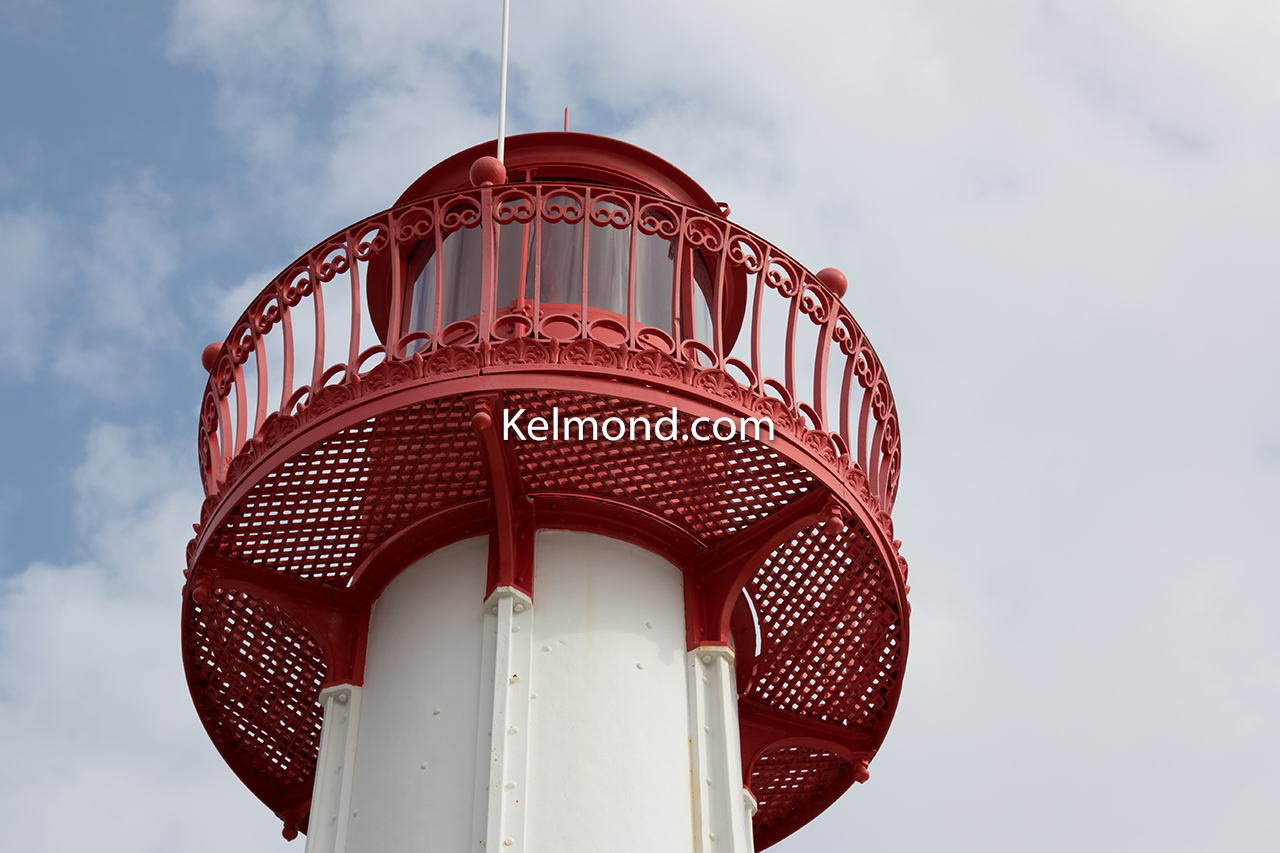
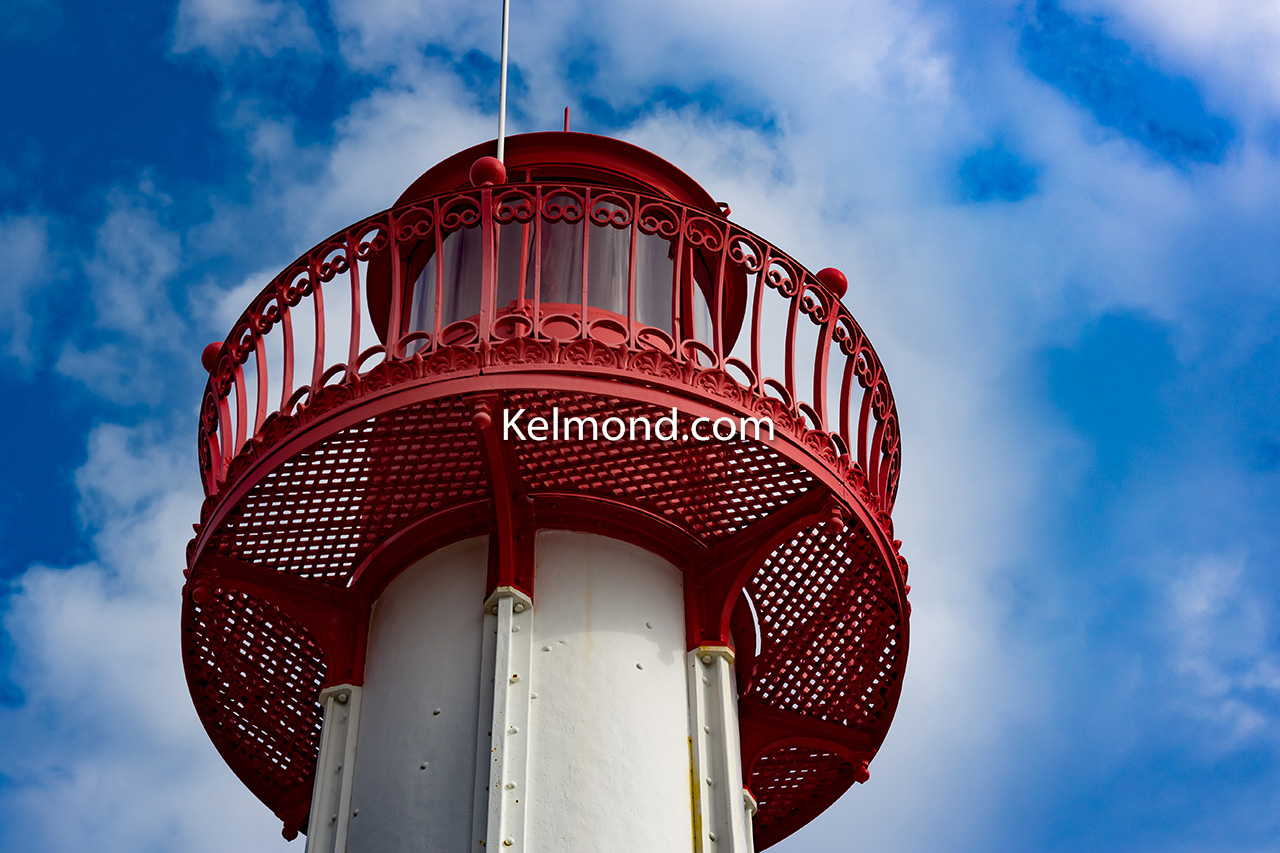
It is quite simple and is used to remove haze, mist, fog,… Just move the slider to the right as much as needed, but be aware that it can add noise or other artifacts to your picture, so don’t overdo it. Moving the slider to the left does the exact opposite, as you would expect.
You can also apply Dehaze locally, as it is also available in the Gradual Filter, Radial Filter and Adjustment Brush options.
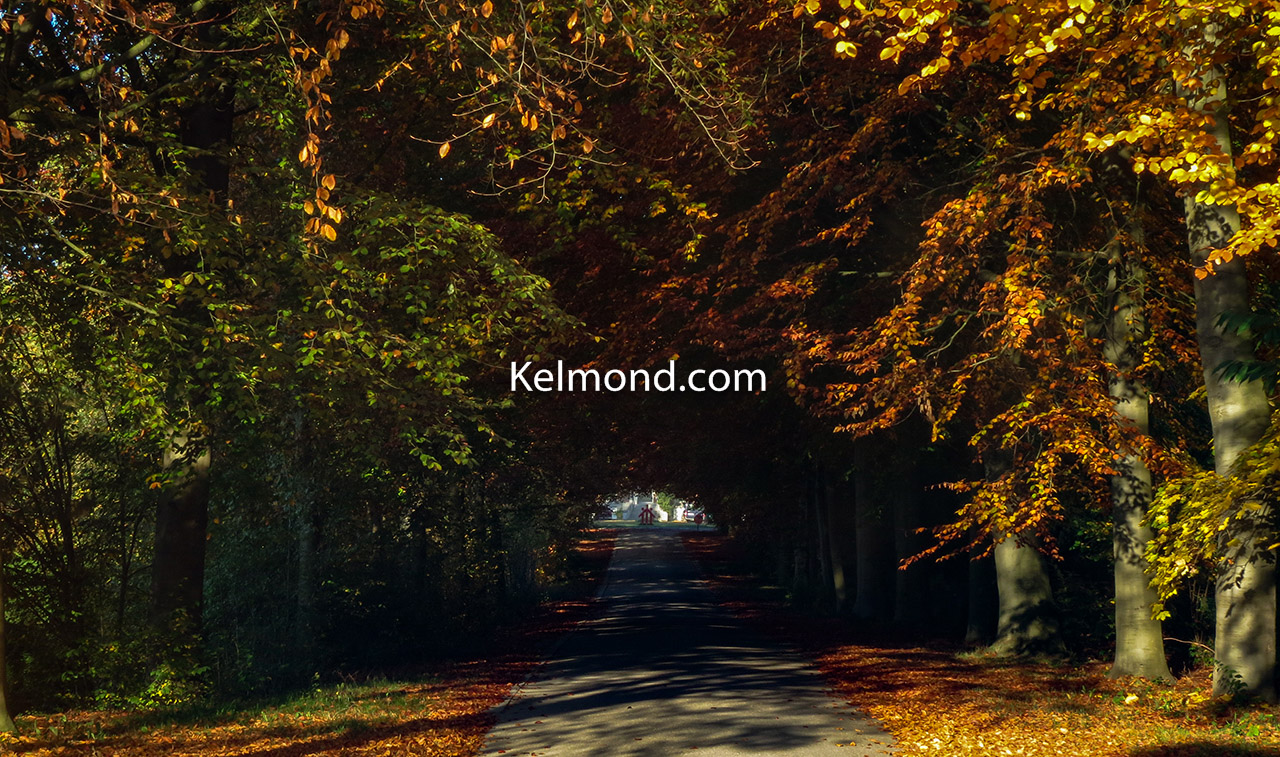
As shown in the before/after pictures below, it can do wonders even on pictures you would have thought were useless. In all three samples, the only difference between the before and after pictures is that I applied some level of Dehaze.