Here’s a quick tip to greatly improve most dull pictures in 10 seconds. Probably even faster, actually! You can do it in Lightroom or with the equivalent tools in Adobe Camera Raw.
The goal is to enhance colors and contrast, as well as give more depth to images, in just a few quick and easy steps.
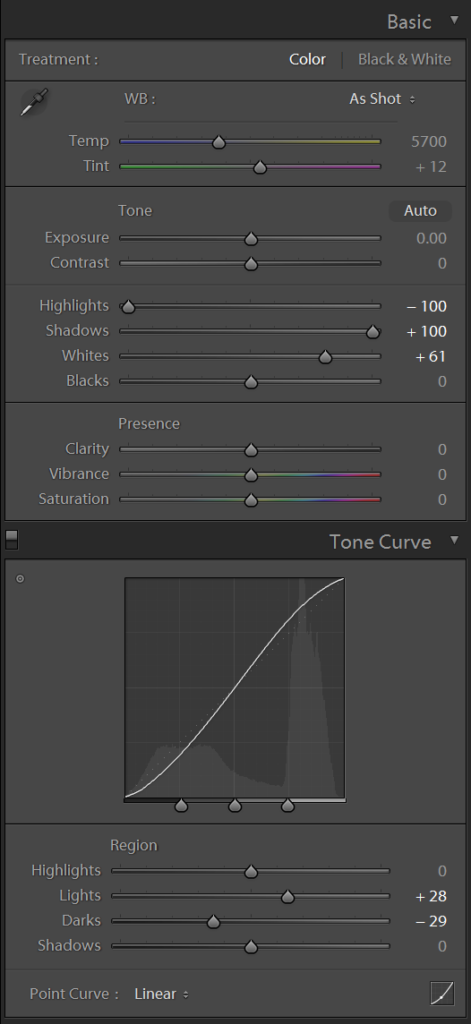
- In the Basic panel of the Develop module, set Highlights to -100 and Shadows to +100.
- Move the Whites slider to the right to make the image lighter. With most pictures, you can move it quiet a lot, but make sure stop before there is white clipping (check your histogram).
- Adjust the Tone Curve to add some contrast back into the picture.
The Whites and Tone Curve adjustments will vary from picture to picture, but you’ll have something looking more or less like in this screenshot.
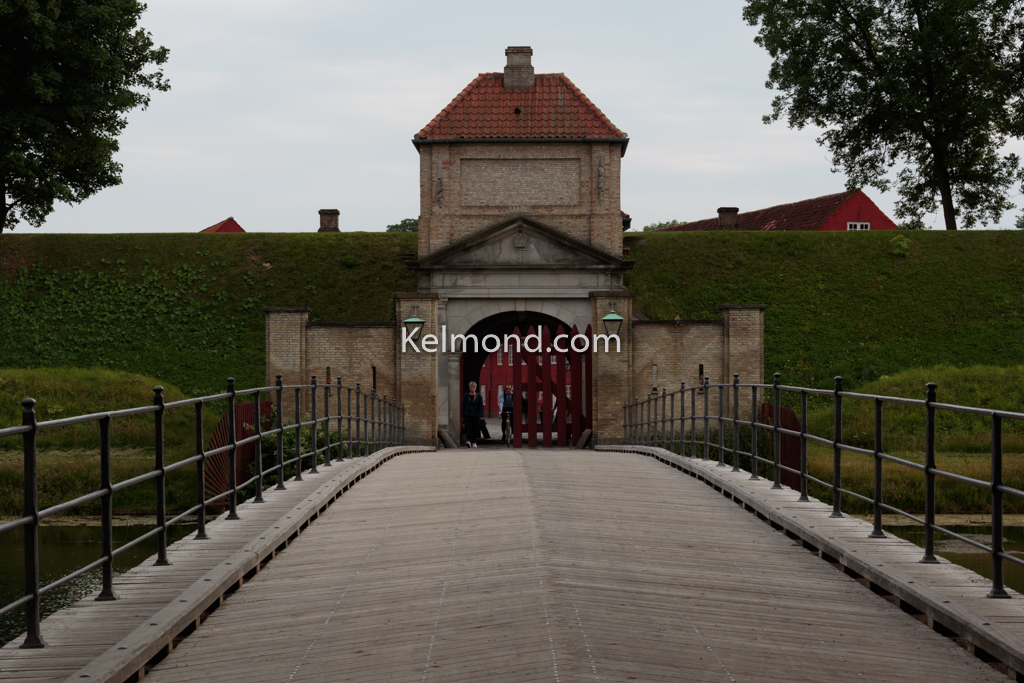
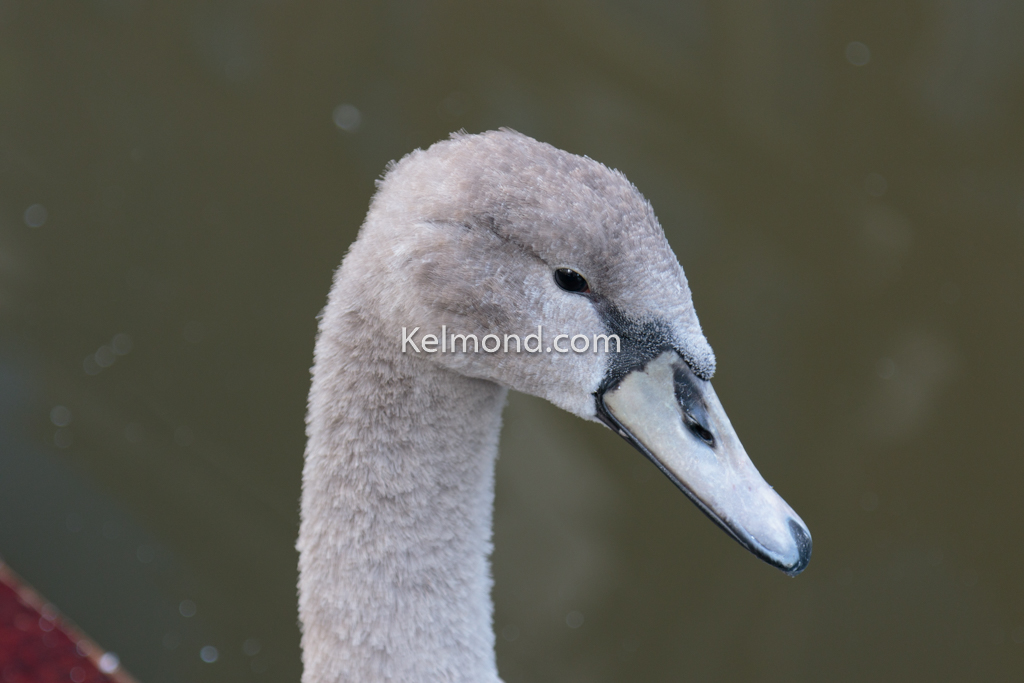
If the image is still extremely dark, you can back down a bit on the Whites and add some Exposure. In the examples below, I’ve done that only in the last one. It was so underexposed to start with (to preserve details in the sky and avoid overexposing the clouds) that changing the exposure was inevitable. I recommend to do that only if it is required after everything else, though, as even very dark images will look fine in the end, without changing the Exposure value.
Is that all you’ll have to do to get perfect pictures? Of course not! There are still many things that can be improved, but the change from the original picture will often be quite dramatic and well worth the few seconds you’ll spend making these few adjustments.
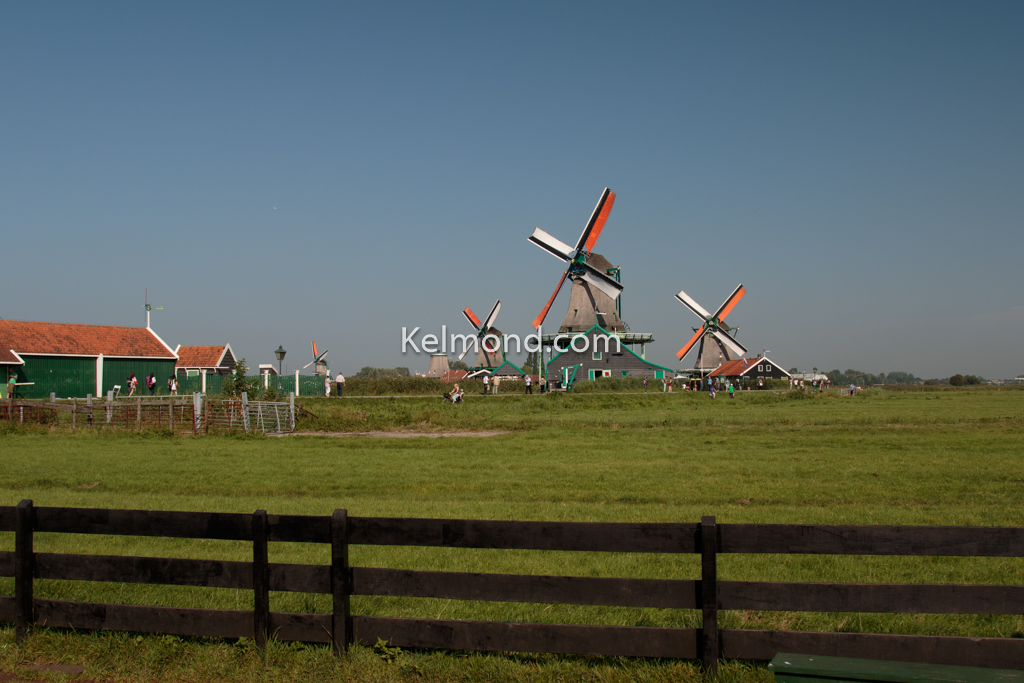
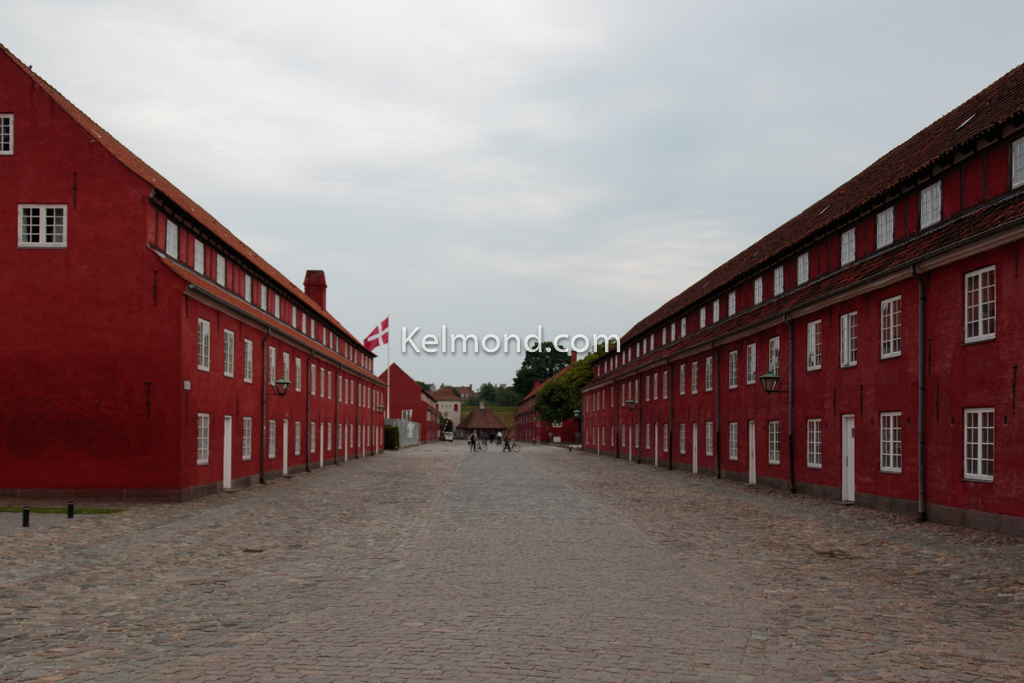
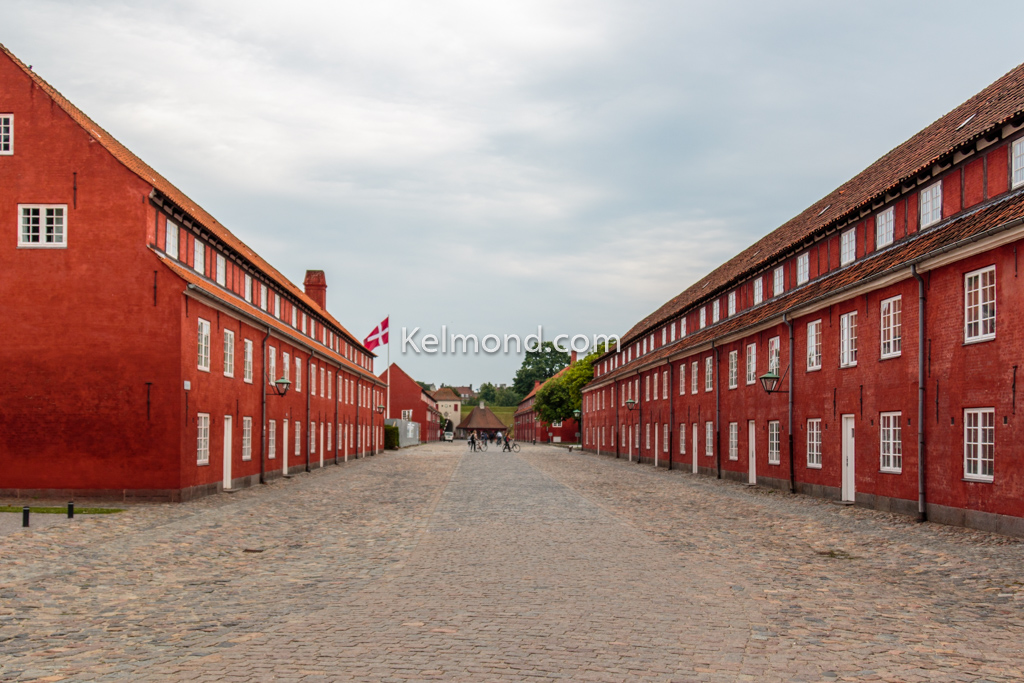
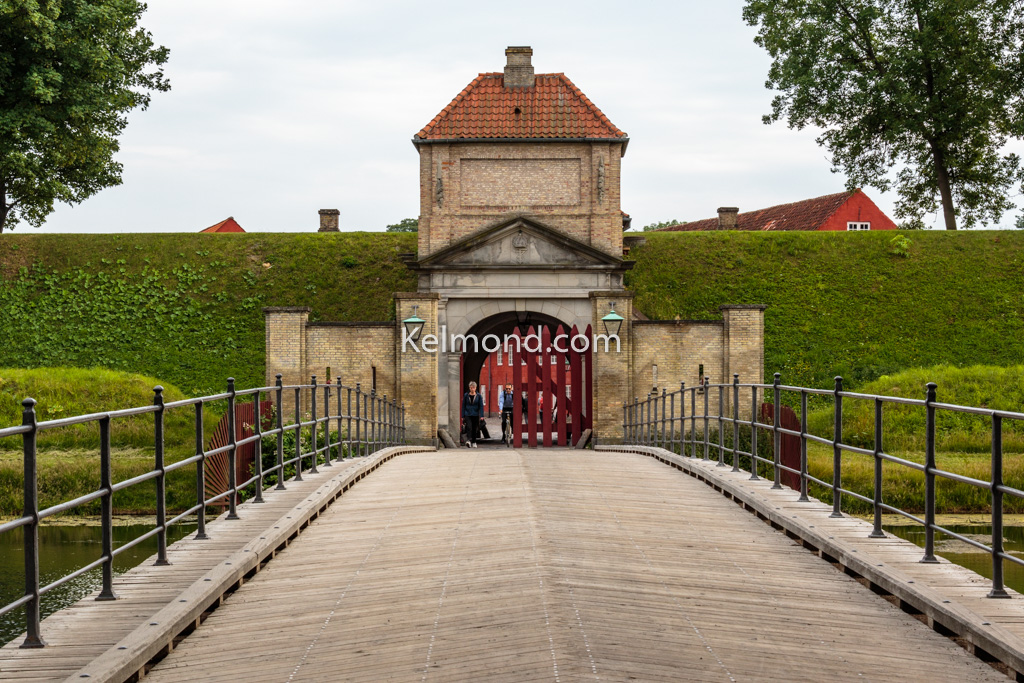
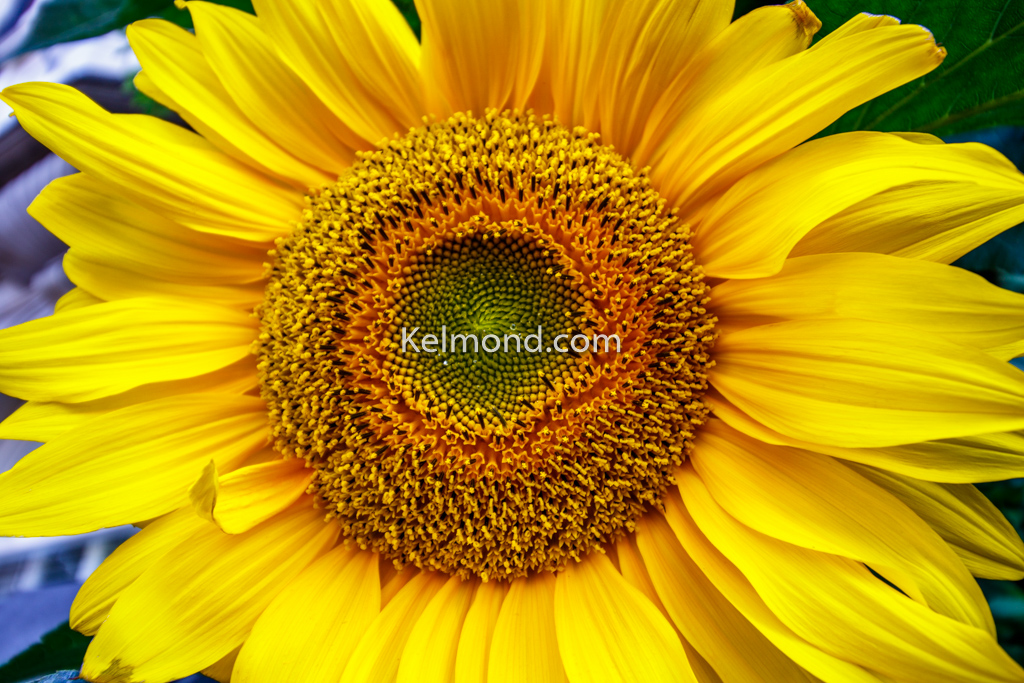
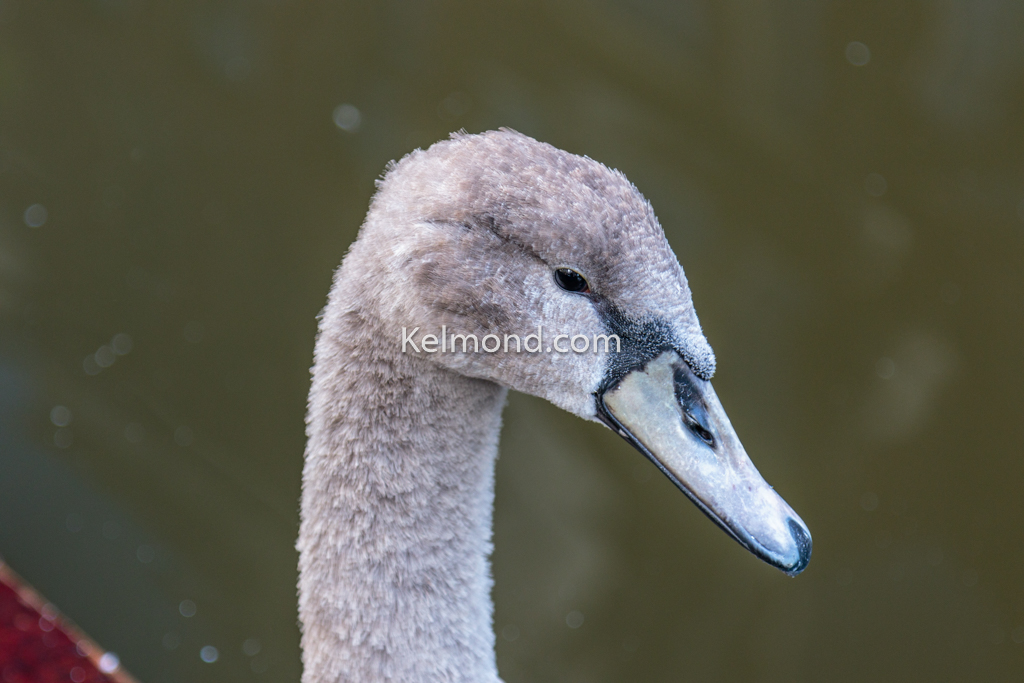
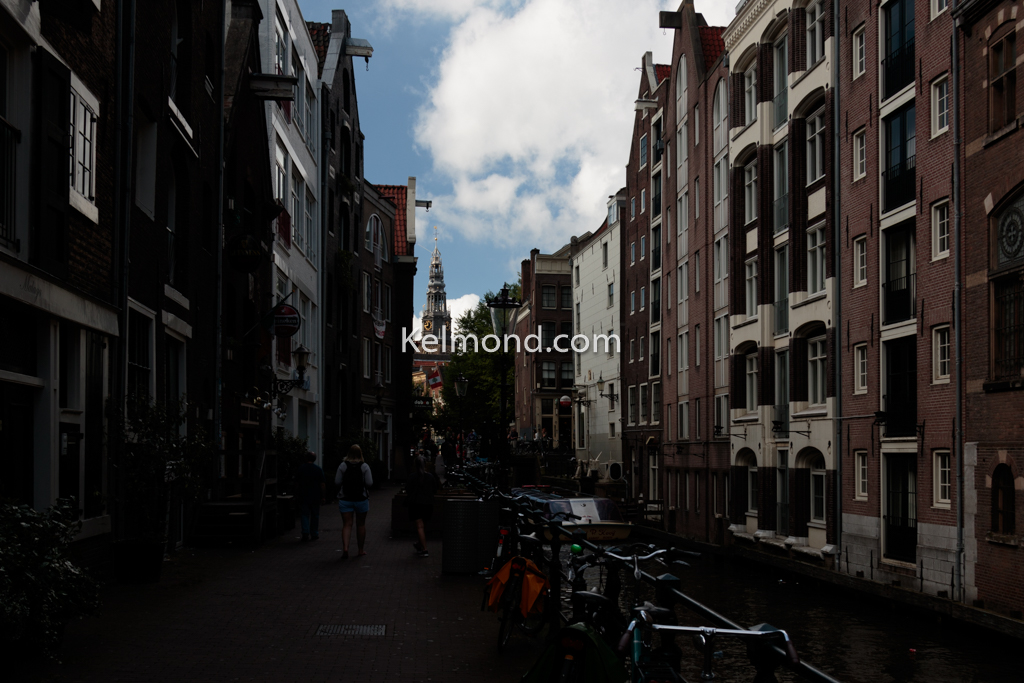
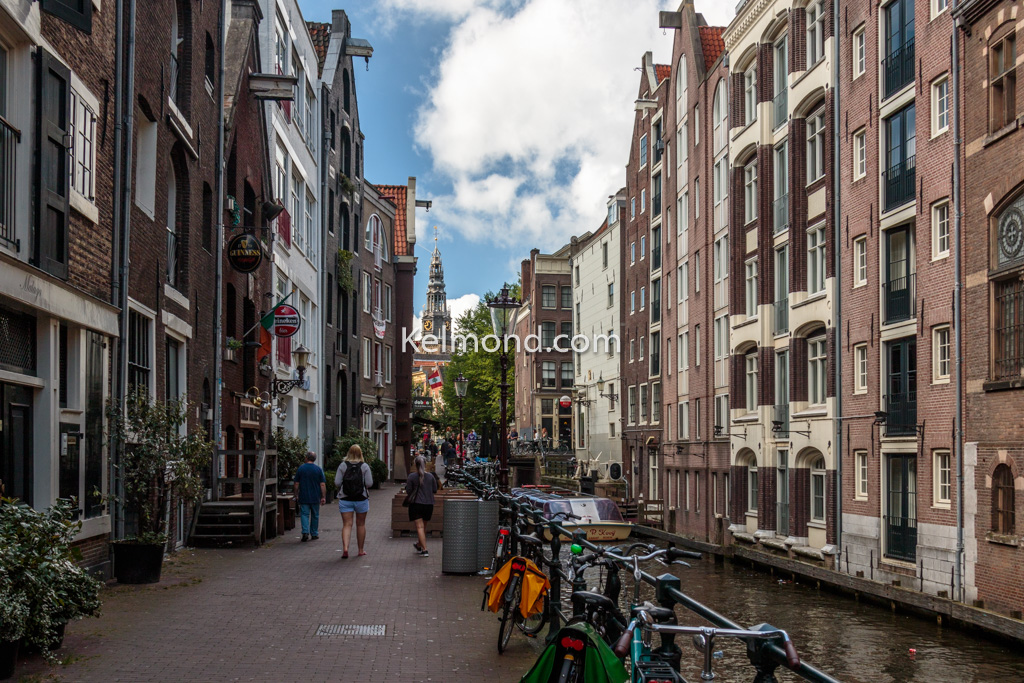
Here are a few examples: