Spoiler alert: it’s much easier than you might think!
In this tutorial, you’ll learn how to model photo-realistic aluminum foil balloons in Blender in just a few minutes. There are no complex techniques involved and only basic knowledge of Blender is required to follow along.
What matters most of all is some attention to details, such as the seam, to make balloon 3D models that look real.
The following technique can be applied to any shape, but since there are a few more steps when starting with simple text, I’ll explain how to create letter balloons.
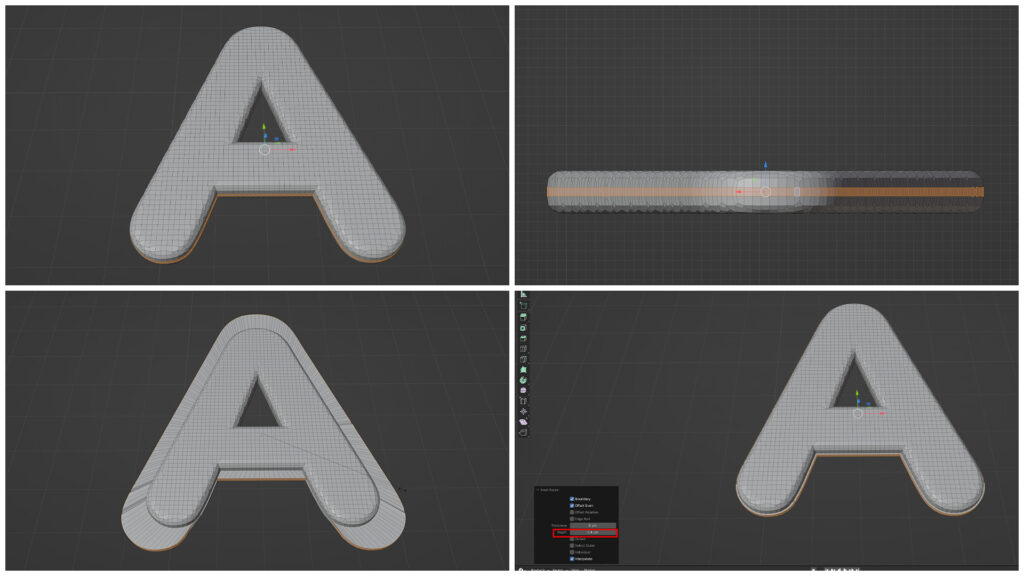
The first step is to create some text and extrude it a little to give it some volume. I also added a small bevel, but that’s not required. Any font will do, albeit with a different result, and in this case I used Arial Rounded.
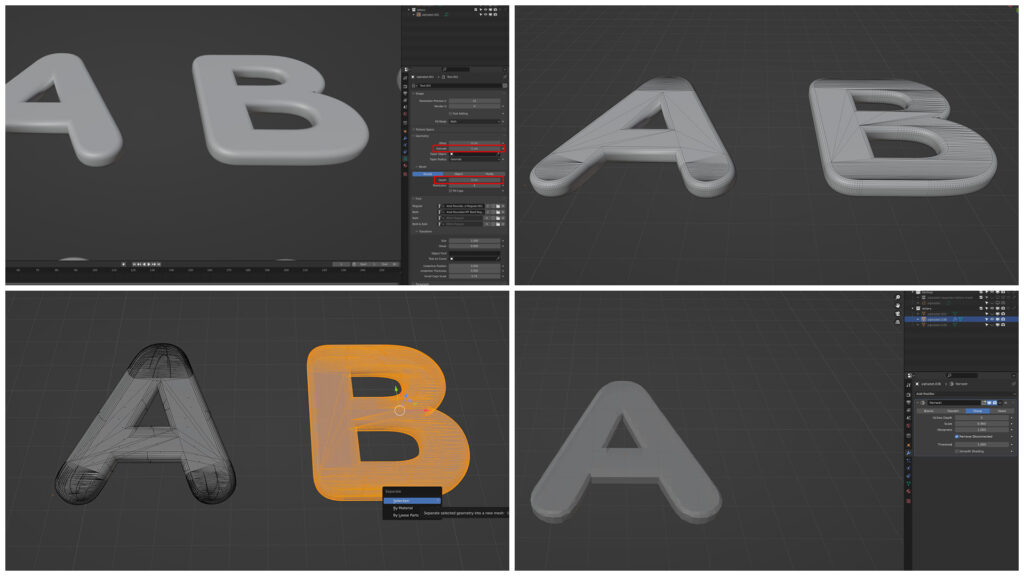
After converting your text to a mesh, you’ll see that it has very bad geometry, and the cloth simulation will fail, so we need to remesh the text.
If you have multiple parts in a single object, you will need to separate them. In Edit mode, with x-ray view, select every single part and then hit P and separate by selection. From now on, you will have to follow the same steps for each single object.
Add a remesh modifier, setting it to sharp with a depth value of 5 or 6 (it depends on your object size) and then apply it. This last step is not necessary to inflate the balloon, but it is required to edit the mesh, which I’ll do later.
After applying the remesh modifier, add a subdivision surface modifier (1 or 2 levels should be more than enough) and right-click on the object to select shade smooth.
For non-text shapes, this should be your starting point.
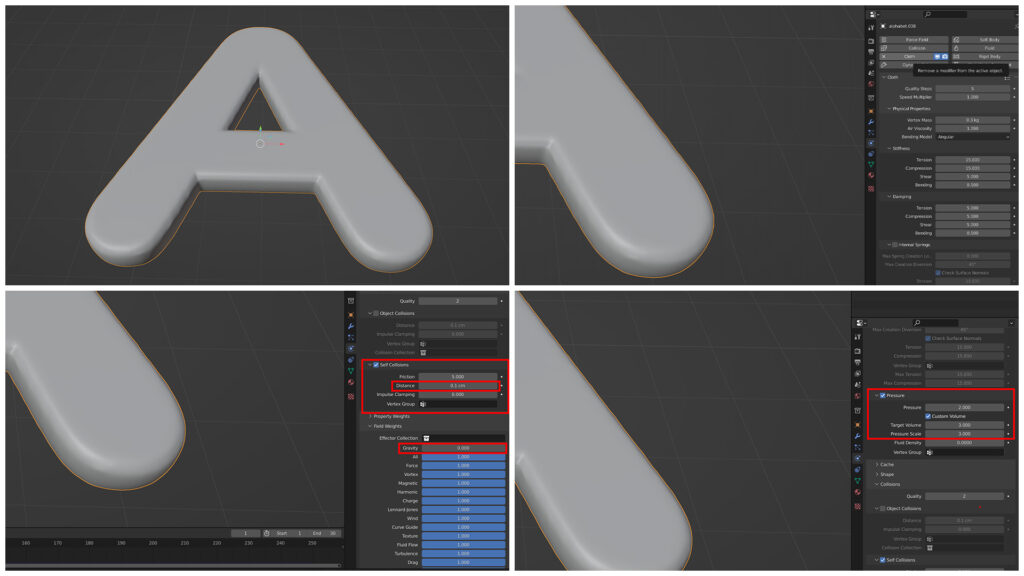
The next step is to go to the physics tab and adding a cloth simulation. Every single setting here will change the look of the inflated object (shape, creases, etc…) as well as how it interacts with the environment. In my example, I chose the silk preset for the material, then set up the collision distance value to the minimum and the gravity to 0, so it doesn’t fall.
Activate the Pressure checkbox and the Custom Volume within it. As values, I chose a pressure of 2, target volume of 3 and pressure scale of 3.
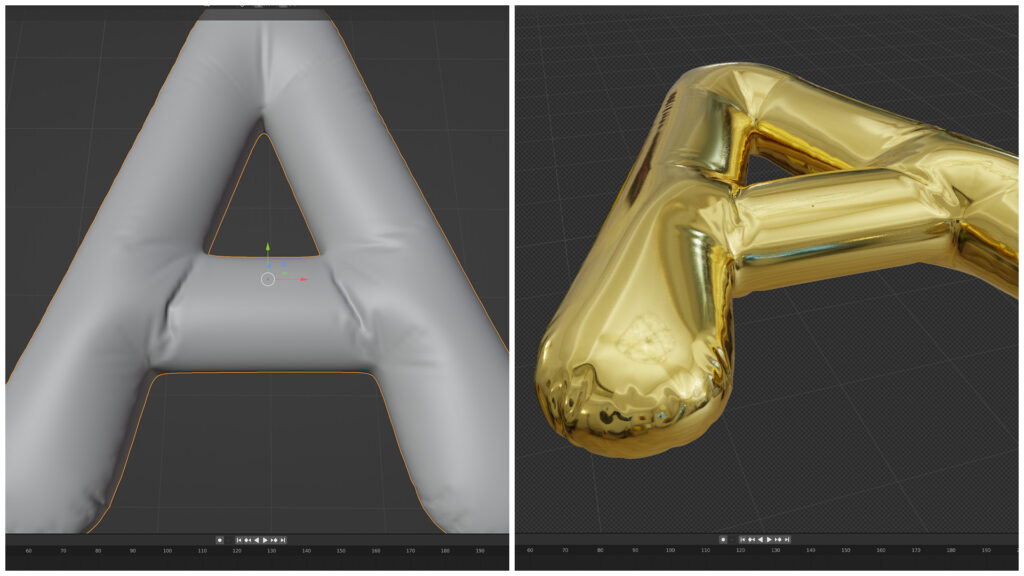
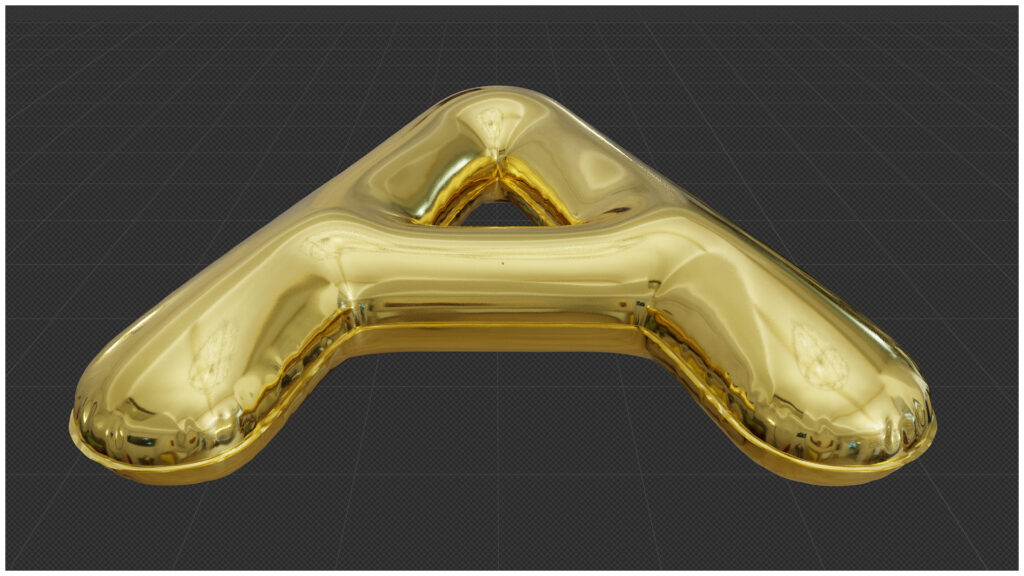
Click the play icon in the timeline and the letter inflates. Add a shiny material (here, metallic to 1 and roughness to 0.1) and light the scene with an HDRI or other image/texture (in the World tab), and it should look something like this.
Note: while they can be lit with any kind of light, reflective surfaces look MUCH better when you add an HDRI to your scene.
It doesn’t look bad and this is pretty much where most tutorials stop, but with a little more effort, it can look much better. The obvious thing that prevent it from looking real is that there is no seam, so that’s what we’ll add right now.
In Edit mode (on frame 1), select the faces of the middle rim on the side of the shape. What we need is to extrude it at little, but as you can see at the bottom-left, a simple extrusion is not an option (scaling give about the same result). Inset, however, gives the desired result. Press I (inset), then press Ctrl and drag to change the inset depth. You can type a specific value in the inset options and this is absolutely recommended if you create balloons of different letters/shapes, so they all look similar.
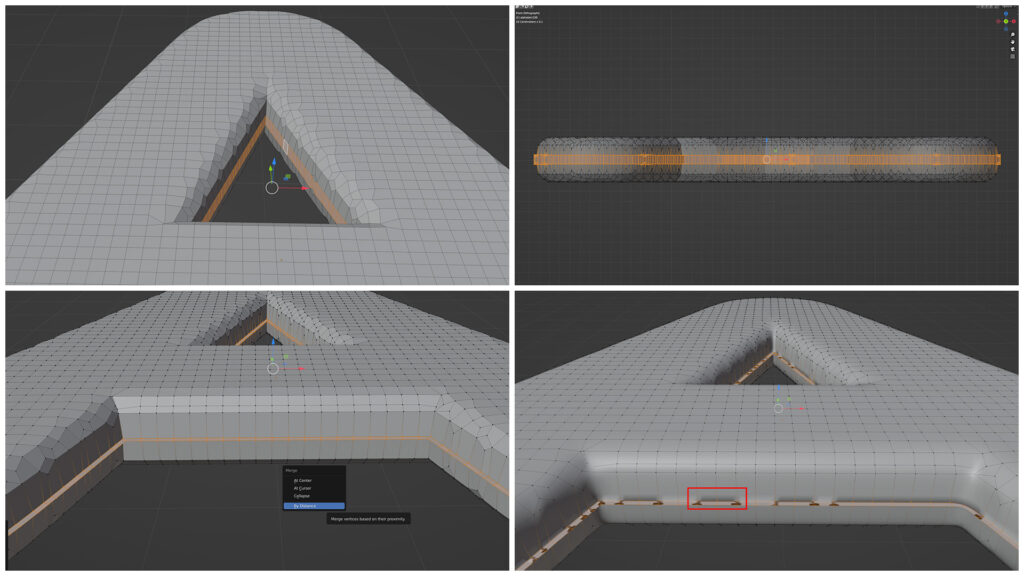
Do the same for the inside part of the letter, when applicable.
Go to the x-ray view and from the side and select all vertices that are part of that extrusion (inside and out). Press S followed by Z and the number 0 to flatten it, then M to merge by distance. If you have extruded the outer and inner parts of the A separately, it should look fine. However, if you have selected both before applying the inset depth, the edge will look as in the bottom-right image. This is caused by some faces looking inward. To correct that issue and reorient the faces, press Shift N.
And this is how it now looks, with a nice seam. I’ve added an extra subdivision surface modifier (with adaptive sampling) after the cloth simulation. At this stage, I thus have 3 modifiers: subdivision surface, cloth simulation, subdivision surface.
It can still be improved a little by adding details, such as the part through which the balloon is inflated, as well as holes (some have those to hang them and link them together). For the holes: extrude the edge, select the face, press I and drag to inset, then select the middle face and delete it (the subdivision surface will make the hole round automatically).
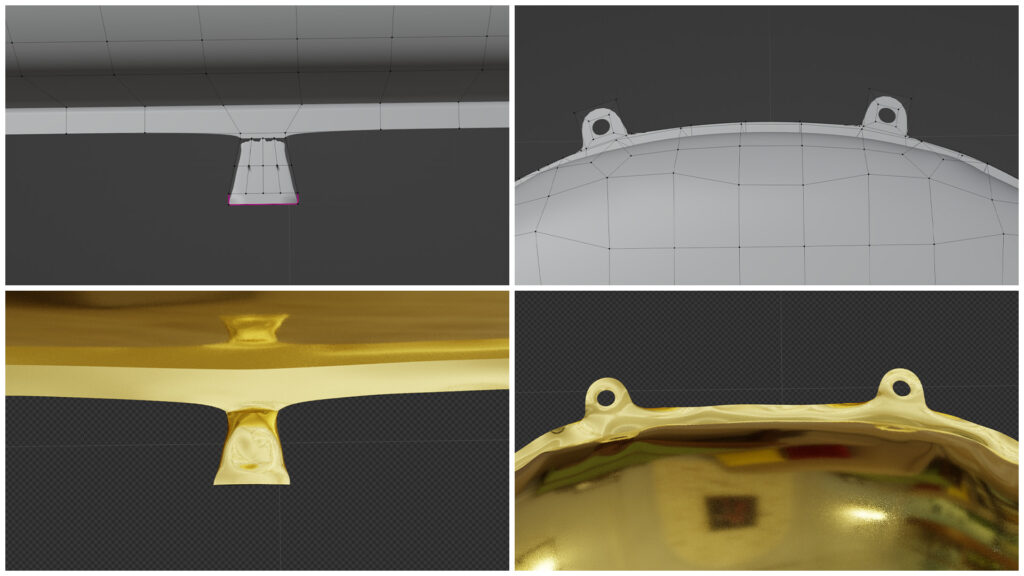
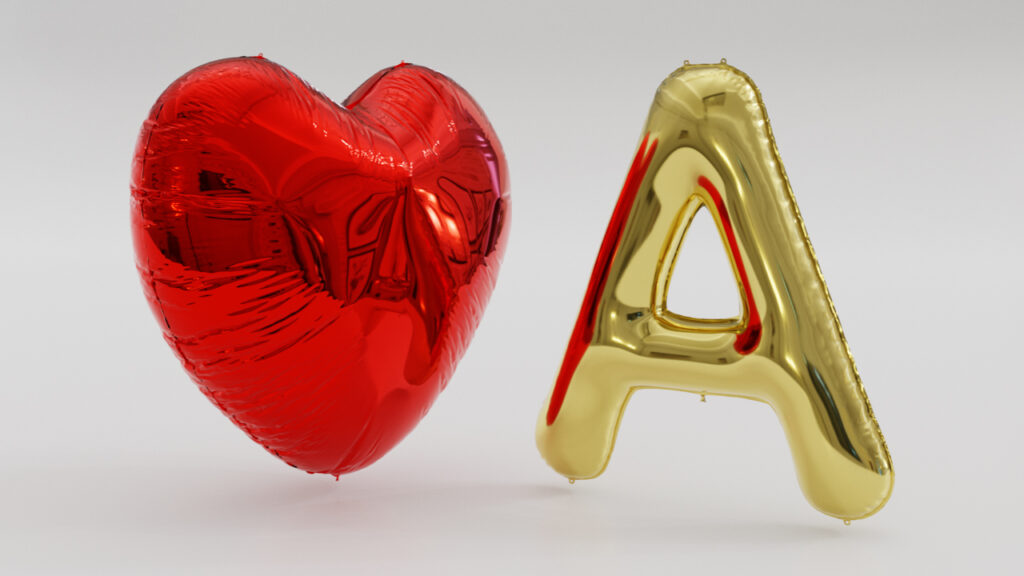
And voilà! Run the simulation one last time and you should have a beautiful, photo-realistic aluminum foil balloon.
If you don’t need the full simulation, but only a specific frame, go to that frame and apply the first subdivision surface and then the cloth simulation (do it in order). Don’t apply the remaining subsurface division modifier.
Once you’ve done the whole thing a couple of times, it should take less time than it took to read this article 😉
As you’ll quickly notice if you experiment a little, many factors influence the exact shape and look of the balloons, from the size and extrusion depth of the letter to the actual geometry of the shape (how many subdivisions) to the many cloth settings.
My advice is thus to experiment a lot. A good way to do so is to make copies of an object and change a single value in each one, to see how that specific setting affects the final shape.
Have fun!