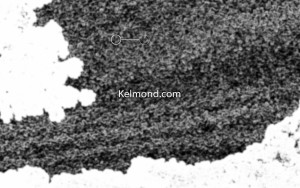
A small option appeared in Lightroom 5.2, which is very useful for spot removal. It’s Visualize spots, which is in the toolbar when the Spot removal tool (Q key) is activated in the Develop module.
Let’s look at an example with the following picture, in which, at first look, there are no spots.

When you click on the checkbox to activate Visualize spots, Lightroom displays a black and white images with the edges, so you can easily identify where there could be spots. You just have to move the slider to modify the intensity of the edges until you find the perfect value for a given picture.


A spot is clearly visible in the sky and, indeed, if you take a closer look at the original picture, you’ll see a small black spot (it is actually a bird).

You might think it is so small that it isn’t necessary to remove it, but it’s a detail that would definitely be noticeable, especially on large prints.

You can remove spots with Visualize spots selected, which is very convenient if there are many of them. But I advise you to review the result afterwards and make appropriate changes if necessary, as the correction isn’t always perfect at first.
This post is based on Lightroom 5.2; the described interface and functions may be different in other versions.